 Today is Wednesday at Bugaboo Stamps, which means that one DT member is sharing a tutorial today! Guess what....that DT member is me today! That's right today I am sharing with you a Tutorial on How to Use Glubers! I know, what now?
  If you haven't seen them before Glubers are these awesome GIANT Glue Dots that are super sticky and a great way to make fun embellishments. So, let me take you through step by step on how to use them! The package comes with directions, but sometimes it is easier to see someone lay it all out for you step by step.
You Will Need:
 1 Gluber any size (I used the smallest one I have - 2")
Ribbon (at least a yard, just in case)
Scissors
A Center Embellishment, I used a Yellow Button
Step #1:
Cut and Remove your Gluber from the package.
Step #2:Peel away the thinner top layer of acetate, you can easily tell which is the base and which is just a top protective layer. Fold the end of your ribbon under slightly and attach it to your Gluber, remember this stuff is very sticky so be careful.

Step #3:
Begin folding and pressing the ribbon onto the adhesive. I push down, fold over, and then push down again. Continue until you complete an entire ring around the adhesive. Then make a cut in the ribbon and try to blend it in or line it up nicely.


Step #4:
Begin the second row, starting the same way the you did with the first row. Bend the ribbon edge under the top and stick it down continuing in the same manner as before push down, fold, push down again. Until you complete another ring.


Step #5:
At this point you can add something to the center, or you can create a smaller third row. There is less adhesive at this stage and it gets to be a bit tight, but I think the third row really fills in the flower.

Step #6:
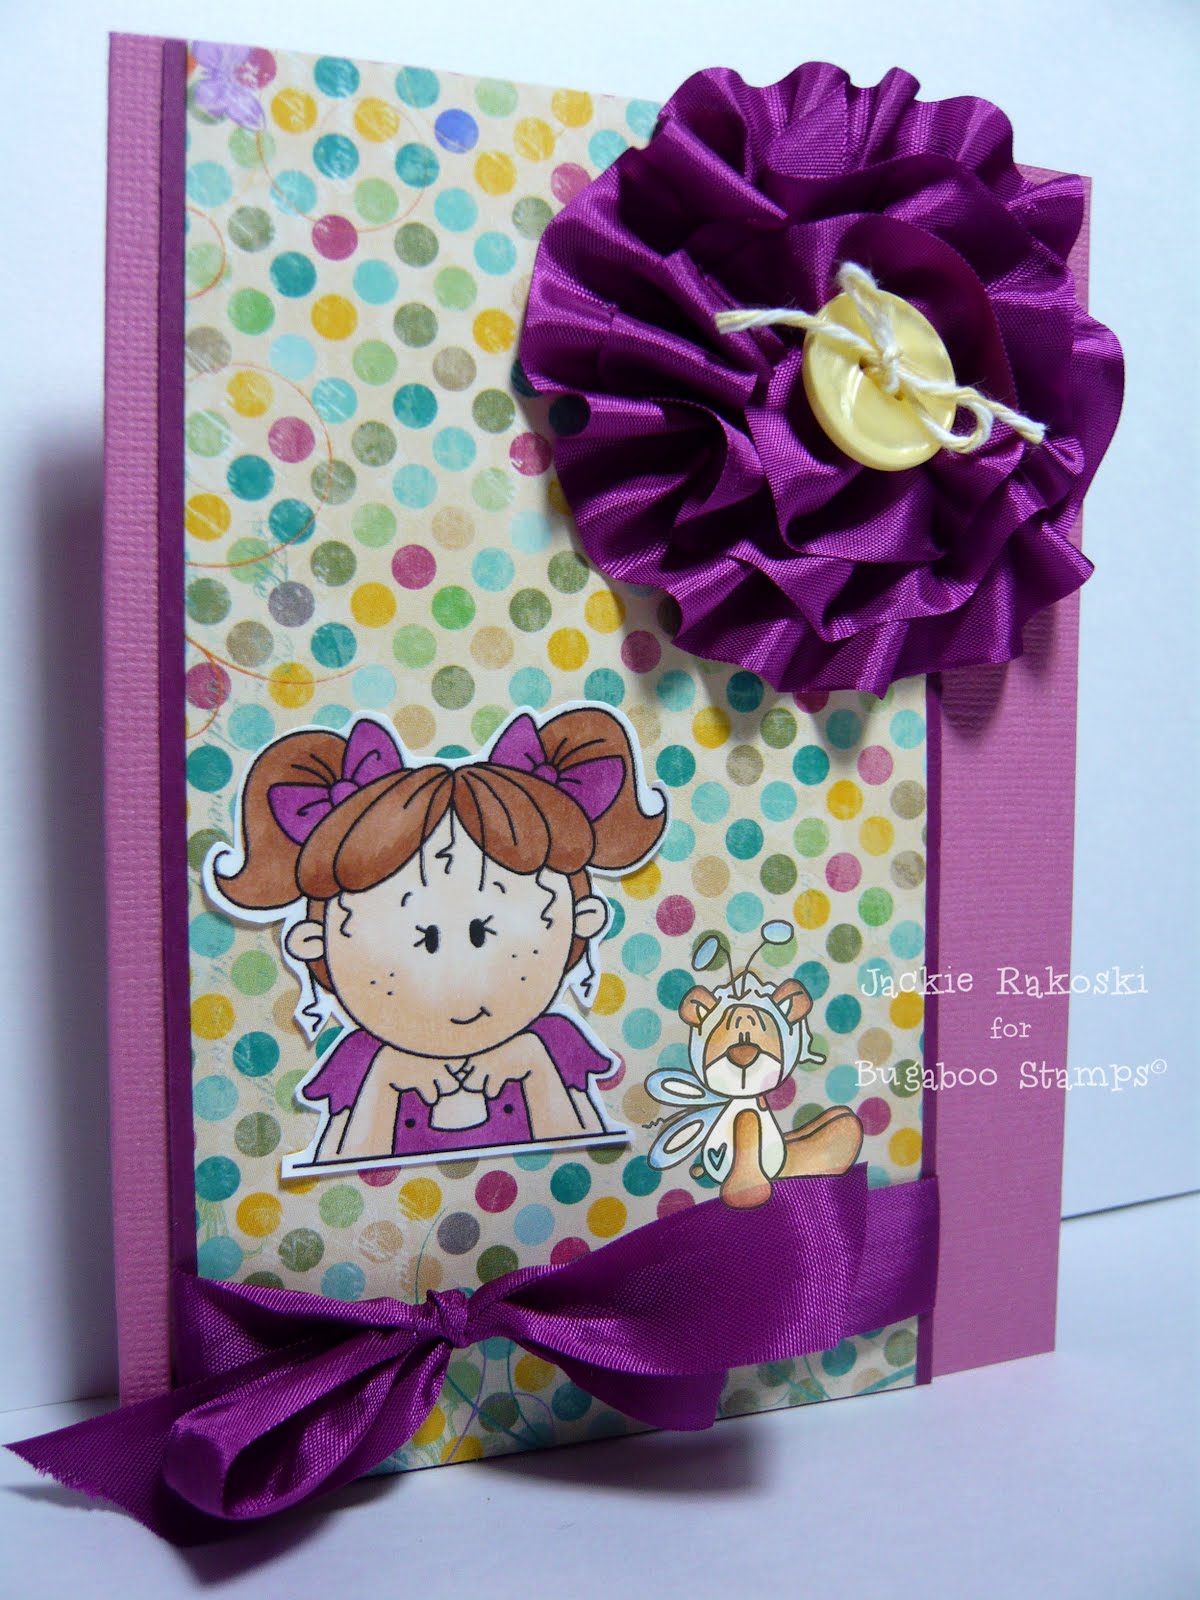
Your Ribbon work is complete! Now, add a central embellishment. In my case I used a yellow button that I added a little bow out of twine to.

Step #7:
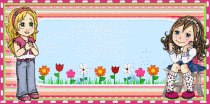
Peel away the backing and add to any card or creation! For my completed project today I used this adorable image Kid Pocket Topper - Girl with Ponytails, isn't she just too cute! I just love how these Glubers can be a great base for such a fun embellishment too!
I hope that you enjoyed my tutorial today, thank you for stopping by!This card was entered into the following challenge(s): Stamps: Kid Pocket Topper - Girl with Pigtails from Bugaboo Stamps; Paper: Whisper White, Rose Red, Rose Pink, Bo Bunny Ambrosia DP; Ink: E00 Skin White, E15 Dark Suntan, RV66 Raspberry; Accessories: Gluber, Glue Dot, PTI Button, Yellow Twine, Vintage Seam Binding


3 comments:
Great card, like always! I am very much impressed with your work..Your colors are great, too. I wish I could put colors together like you do!
Super cute image, beautifully colored & great little tutorial !!!
Janie
I bought these months ago and haven't used them yet! So glad to see your tutorial!!
I'll definitely have to bust it out soon!!
Post a Comment